RemoteIoT Web SSH Tutorial: Your Ultimate Guide To Secure Remote Access
Hey there, tech enthusiasts! If you're diving into the world of IoT (Internet of Things) or just looking for ways to remotely manage your devices, then you're in the right place. RemoteIoT web SSH tutorial is going to be your go-to guide for setting up secure connections without breaking a sweat. Whether you're a beginner or an advanced user, this tutorial will walk you step by step through everything you need to know. So grab a cup of coffee, sit back, and let's get started!
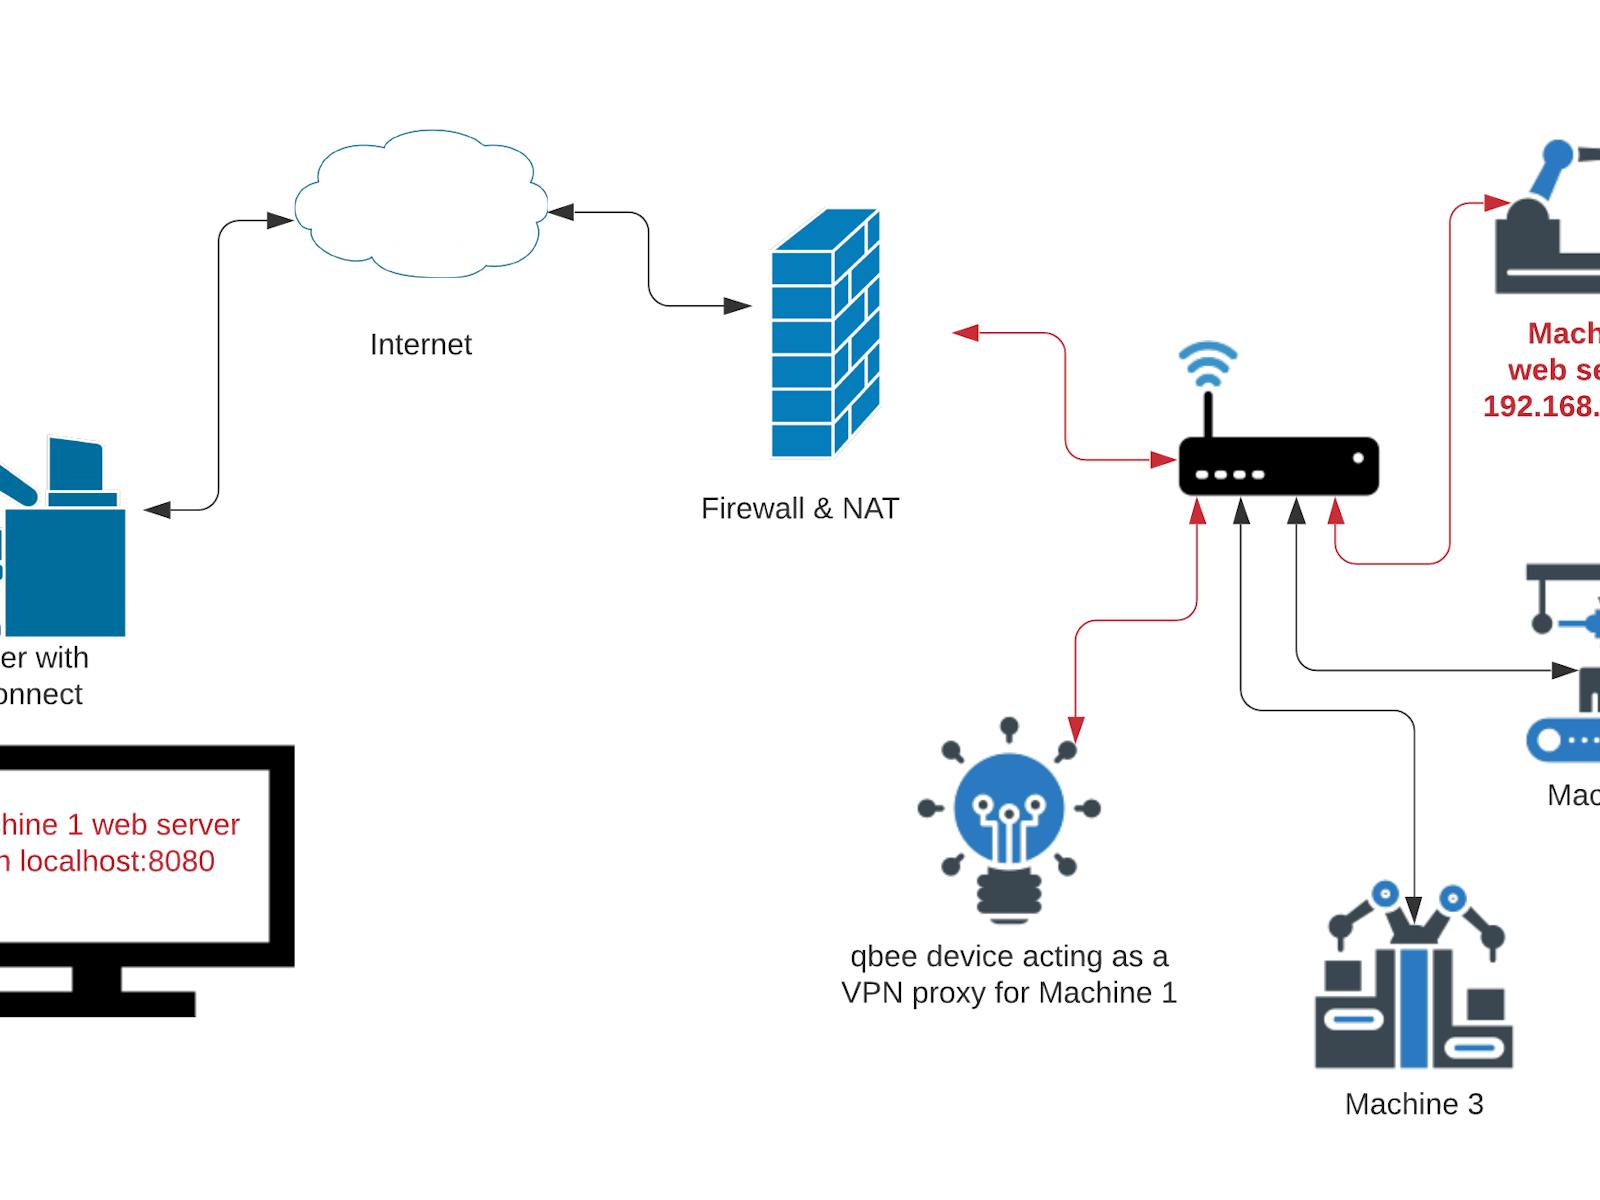
Nowadays, remote access to IoT devices has become a necessity rather than a luxury. With the rise of smart homes, smart factories, and even smart cities, having the ability to control and monitor these devices from anywhere in the world is a game-changer. But how do you ensure that your connection remains secure? That's where SSH (Secure Shell) comes in. This protocol encrypts your data and protects it from prying eyes, making it one of the best tools for remote management.
This tutorial isn't just about teaching you how to use SSH. We're going to dive deep into the nitty-gritty details, covering everything from setting up your environment to troubleshooting common issues. By the end of this guide, you'll have the confidence and knowledge to manage your IoT devices like a pro. So let's not waste any time and jump right into it, shall we?
Read also:Jackerman Mothers Warmth 3 The Ultimate Comfort Experience You Deserve
What is RemoteIoT Web SSH?
RemoteIoT web SSH is essentially a web-based interface that allows you to remotely access your IoT devices using the Secure Shell protocol. Instead of relying on traditional command-line tools, you can now manage your devices through a browser, making it more accessible and user-friendly. This approach is perfect for those who prefer a graphical interface over typing commands in a terminal.
Here's why RemoteIoT web SSH has become so popular:
- It provides a secure connection between your device and the server.
- You don't need to install additional software on your local machine.
- It works seamlessly across different platforms, including Windows, macOS, and Linux.
- It's ideal for managing multiple devices from a single location.
But wait, there's more! RemoteIoT web SSH also supports advanced features like file transfers, port forwarding, and even automation scripts. This makes it an all-in-one solution for managing your IoT ecosystem.
Why Use SSH for IoT Devices?
Alright, let's talk about why SSH is such a big deal in the world of IoT. Unlike other protocols, SSH focuses heavily on security and reliability. Here's a quick rundown of its benefits:
First off, SSH encrypts all data transmitted between your device and the server. This means that even if someone intercepts your connection, they won't be able to make sense of the information. Secondly, SSH supports authentication methods like passwords and public-key cryptography, ensuring that only authorized users can access your devices.
Another advantage of SSH is its versatility. It can handle a wide range of tasks, from simple command execution to complex file transfers. Plus, it's compatible with almost every operating system out there, making it a universal choice for remote management.
Read also:Discover The Multifaceted World Of Ben Vaughn
Setting Up Your RemoteIoT Environment
Before we dive into the actual SSH commands, let's first set up your environment. This involves configuring your IoT device and preparing your local machine for remote access. Here's what you need to do:
Step 1: Install an SSH Server on Your IoT Device
Most modern IoT devices come with SSH pre-installed. However, if your device doesn't have it, you'll need to install an SSH server manually. For Linux-based devices, you can use a package manager like apt or yum to install OpenSSH. For example:
sudo apt install openssh-server
Once the installation is complete, start the SSH service and enable it to run on boot:
sudo systemctl start ssh
sudo systemctl enable ssh
Step 2: Configure Your Router
To access your device from outside your local network, you'll need to configure port forwarding on your router. This involves mapping an external port to the internal IP address of your IoT device. The exact steps may vary depending on your router model, but the general process looks like this:
- Log in to your router's admin panel.
- Find the port forwarding or virtual server settings.
- Create a new rule that maps port 22 (the default SSH port) to your device's IP address.
Don't forget to note down your public IP address, as you'll need it later for remote access.
Connecting to Your IoT Device via SSH
With your environment all set up, it's time to connect to your IoT device using SSH. Here's how you can do it:
Option 1: Using a Terminal
If you're comfortable with the command line, connecting via SSH is as simple as typing a single command. Here's the basic syntax:
ssh username@public_ip
Replace "username" with your device's login name and "public_ip" with the IP address of your router. You'll be prompted to enter your password, and once authenticated, you'll have full access to your device.
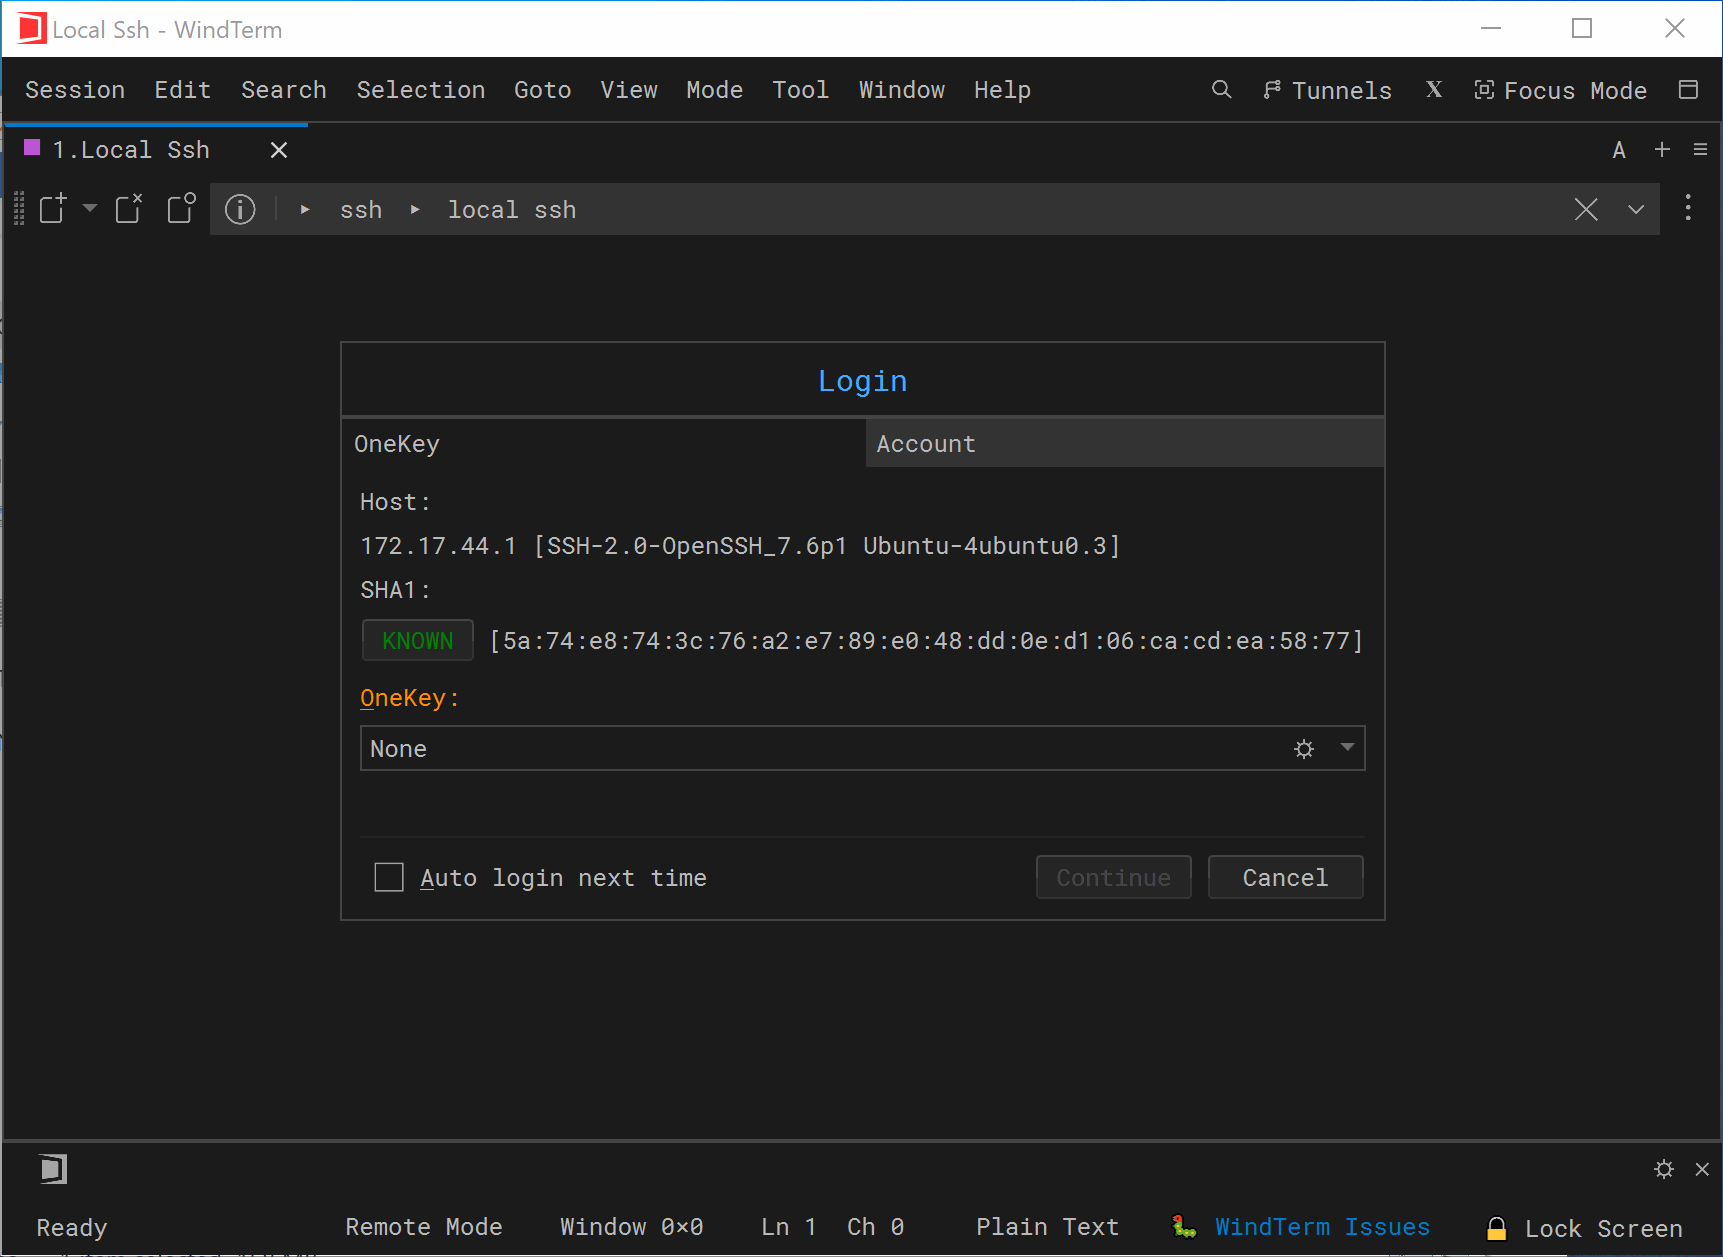
Option 2: Using a Web-Based SSH Client
For those who prefer a graphical interface, you can use a web-based SSH client like RemoteIoT. Simply open your browser, navigate to the client's URL, and enter your connection details. No need to install anything on your local machine!
Advanced Features of RemoteIoT Web SSH
Now that you know the basics, let's explore some of the advanced features offered by RemoteIoT web SSH:
File Transfers
Transferring files between your local machine and IoT device has never been easier. With RemoteIoT, you can drag and drop files directly into the interface, eliminating the need for separate FTP clients. This is particularly useful when deploying new firmware or uploading configuration files.
Port Forwarding
Port forwarding allows you to access services running on your IoT device from anywhere in the world. For example, you can forward port 80 to access a web server or port 3306 to connect to a database. This feature is essential for developers and system administrators who need to test their applications remotely.
Automation Scripts
Automation is the name of the game when it comes to IoT. With RemoteIoT web SSH, you can execute scripts that automate repetitive tasks, such as monitoring system performance or collecting sensor data. This saves you time and ensures that your devices are always running smoothly.
Best Practices for Secure Remote Access
While SSH is inherently secure, there are still steps you can take to further enhance your protection. Here are some best practices to follow:
- Use strong passwords and enable two-factor authentication whenever possible.
- Change the default SSH port (22) to something less common to deter automated attacks.
- Limit access to specific IP addresses using firewall rules.
- Regularly update your device's firmware and SSH server to patch any security vulnerabilities.
By implementing these measures, you can significantly reduce the risk of unauthorized access to your IoT devices.
Troubleshooting Common Issues
Even with the best preparation, things can still go wrong. Here are some common issues you might encounter and how to fix them:
Issue 1: Connection Timeout
If you're unable to establish a connection, double-check your router's port forwarding settings and ensure that the SSH service is running on your device. Also, verify that your public IP address hasn't changed.
Issue 2: Authentication Failure
Make sure you're using the correct username and password. If you're still having trouble, try resetting your device's SSH configuration or generating new SSH keys.
Issue 3: Slow Performance
Sometimes, SSH connections can be sluggish due to network congestion or high CPU usage on your device. To improve performance, consider compressing data during transmission or upgrading your hardware.
Future Trends in RemoteIoT Management
As technology continues to evolve, so does the way we manage IoT devices. Here are a few trends to watch out for:
First, we're seeing a shift towards cloud-based solutions that offer greater scalability and flexibility. These platforms allow users to manage thousands of devices from a single dashboard, making it easier to handle large-scale deployments.
Second, AI and machine learning are being integrated into IoT management tools, enabling predictive maintenance and automated decision-making. This reduces downtime and improves overall efficiency.
Finally, security remains a top priority, with new protocols and encryption methods being developed to protect sensitive data. As cyber threats become more sophisticated, staying ahead of the curve is crucial for maintaining trust in the IoT ecosystem.
Conclusion and Call to Action
Well, there you have it – your complete guide to RemoteIoT web SSH tutorial. By following the steps outlined in this article, you should now have the skills and knowledge to securely manage your IoT devices from anywhere in the world. Remember, security is key, so always follow best practices and stay updated with the latest trends.
So what are you waiting for? Give it a try and let us know how it goes. Feel free to leave a comment below or share this article with your friends. And if you're hungry for more tech tips, be sure to check out our other guides on IoT and remote management. Until next time, stay safe and keep innovating!
Table of Contents
- What is RemoteIoT Web SSH?
- Why Use SSH for IoT Devices?
- Setting Up Your RemoteIoT Environment
- Connecting to Your IoT Device via SSH
- Advanced Features of RemoteIoT Web SSH
- Best Practices for Secure Remote Access
- Troubleshooting Common Issues
- Future Trends in RemoteIoT Management
- Conclusion and Call to Action
Article Recommendations