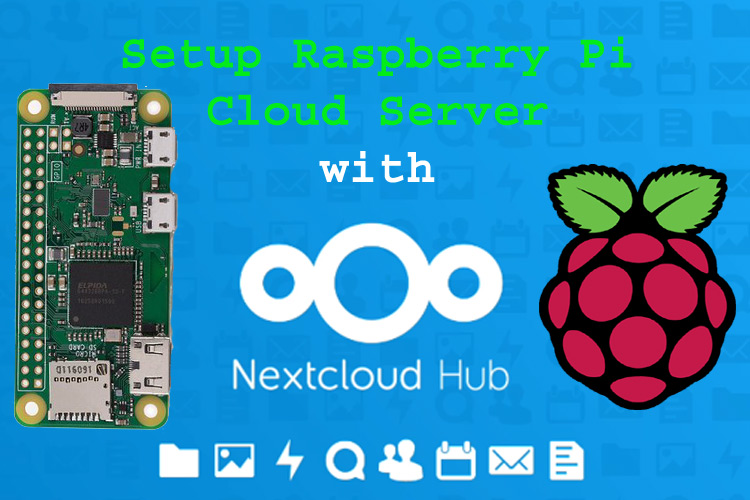
Build Your Own Raspberry Pi IoT Cloud Server For Free
Imagine this: a tiny device, no bigger than your wallet, that can act as a fully functional IoT cloud server—free of charge! Yes, you heard that right. With Raspberry Pi, you can set up an IoT cloud server that’s not only cost-effective but also scalable and powerful enough to handle your smart home or business needs. In this article, we’ll dive deep into how you can turn your Raspberry Pi into a cloud server powerhouse without breaking the bank.
Nowadays, the Internet of Things (IoT) has become a buzzword in tech circles, and for good reason. It’s revolutionizing how we interact with technology, from controlling smart appliances to monitoring industrial equipment. But here’s the kicker—why pay for expensive cloud services when you can build your own Raspberry Pi IoT cloud server for free? This DIY approach gives you full control over your data and devices, and it’s a lot more fun than clicking through subscription plans.
Whether you’re a tech enthusiast, a hobbyist, or someone looking to save money on cloud hosting, this guide will walk you through every step of the process. We’ll cover everything from setting up your Raspberry Pi to configuring it as an IoT cloud server. So grab your favorite beverage, and let’s get started!
Read also:Adam Driver Dating History A Closer Look At Love And Relationships
Table of Contents
Introduction to Raspberry Pi IoT Cloud Server
Understanding Raspberry Pi Basics
What is IoT and Why It Matters?
Building a Free Cloud Server with Raspberry Pi
Software Setup for Your IoT Cloud Server
Hardware Requirements for Raspberry Pi IoT
Read also:Eve Schiff A Rising Star Redefining The Entertainment World
Securing Your Raspberry Pi IoT Cloud Server
Connecting Devices to Your Raspberry Pi IoT Server
Wrapping Up: Your Free Raspberry Pi IoT Cloud Server
Introduction to Raspberry Pi IoT Cloud Server
Alright, let’s break it down. A Raspberry Pi IoT cloud server is essentially a mini-computer that acts as a hub for all your connected devices. Think of it like a tiny brain that controls everything from your smart lights to your security cameras. The best part? You don’t have to spend a fortune on expensive cloud hosting services. With Raspberry Pi, you can create a personalized cloud server that’s tailored to your specific needs.
In this section, we’ll explore why Raspberry Pi is such a game-changer in the world of IoT. From its affordability to its versatility, there’s a reason why millions of people around the globe are using it for their projects. Plus, we’ll touch on how a free Raspberry Pi IoT cloud server can save you money while giving you more control over your data.
Why Choose Raspberry Pi for IoT?
Here’s the deal: Raspberry Pi isn’t just a toy for tech geeks. It’s a serious piece of hardware that can handle complex tasks with ease. Whether you’re building a home automation system or developing a prototype for your startup, Raspberry Pi has got you covered. And let’s not forget—it’s open-source, which means you can customize it to fit your exact requirements.
- Affordable price point
- Low power consumption
- Highly customizable
- Supports a wide range of operating systems
Understanding Raspberry Pi Basics
Before we dive into setting up your Raspberry Pi IoT cloud server, let’s take a moment to understand the basics. What exactly is a Raspberry Pi? It’s a single-board computer that’s small enough to fit in your pocket but powerful enough to run complex applications. Think of it as a mini-computer that you can use for anything from coding to gaming.
Here’s a quick rundown of what makes Raspberry Pi so special:
- Compact size
- Multiple GPIO pins for connecting sensors and devices
- Supports popular operating systems like Raspbian and Ubuntu
- Active community and tons of resources
Choosing the Right Raspberry Pi Model
Not all Raspberry Pi models are created equal. Depending on your project requirements, you might need a more powerful model. For example, the Raspberry Pi 4 is ideal for heavy-duty tasks like running a cloud server, while the Raspberry Pi Zero is perfect for lightweight projects.
What is IoT and Why It Matters?
Let’s talk about IoT, or the Internet of Things. Simply put, IoT refers to the network of physical devices that are connected to the internet. These devices can communicate with each other and exchange data, creating a smarter and more connected world. From smart thermostats to wearable fitness trackers, IoT is everywhere.
Here’s why IoT matters:
- Increased efficiency and automation
- Improved data collection and analysis
- Enhanced user experience
How Raspberry Pi Fits into the IoT Ecosystem
Raspberry Pi plays a crucial role in the IoT ecosystem by acting as a central hub for all connected devices. It can collect data from sensors, process it, and send it to the cloud for further analysis. This makes it an ideal choice for building IoT applications that require real-time data processing.
Building a Free Cloud Server with Raspberry Pi
Now, let’s get to the fun part—building your own free cloud server with Raspberry Pi. This is where the magic happens. By setting up a cloud server on your Raspberry Pi, you can store and access your data from anywhere in the world. Plus, you’ll have full control over your server, which means no pesky subscription fees or data limits.
Here’s a step-by-step guide to help you get started:
- Install Raspbian OS on your Raspberry Pi
- Set up a static IP address
- Install necessary software like Apache or Nginx
- Configure port forwarding on your router
- Set up a domain name using services like DuckDNS
Benefits of a Raspberry Pi Cloud Server
There are plenty of reasons why a Raspberry Pi cloud server is a great choice. Not only is it free, but it’s also highly customizable and secure. Plus, you can use it for a wide range of applications, from hosting websites to running databases.
Software Setup for Your IoT Cloud Server
Now that you’ve got your Raspberry Pi set up, it’s time to install the necessary software to turn it into a cloud server. This is where things get a little technical, but don’t worry—we’ve got you covered. We’ll walk you through each step of the process, from installing the operating system to configuring the server software.
Installing Raspbian OS
Raspbian is the official operating system for Raspberry Pi, and it’s perfect for setting up an IoT cloud server. Here’s how to install it:
- Download the Raspbian image from the official website
- Use a tool like Etcher to flash the image onto an SD card
- Insert the SD card into your Raspberry Pi and boot it up
Configuring Server Software
Once Raspbian is installed, it’s time to configure the server software. We recommend using Apache or Nginx for web hosting, and MariaDB for database management. Here’s how to install them:
- Update your Raspberry Pi using the command
sudo apt update - Install Apache using the command
sudo apt install apache2 - Install MariaDB using the command
sudo apt install mariadb-server
Hardware Requirements for Raspberry Pi IoT
Before you start building your Raspberry Pi IoT cloud server, it’s important to make sure you have all the necessary hardware. Here’s a list of what you’ll need:
- Raspberry Pi (preferably Model 4)
- MicroSD card (16GB or higher)
- Power supply
- USB keyboard and mouse
- HDMI monitor (optional)
Optional Accessories
While the above items are essential, there are a few optional accessories that can enhance your Raspberry Pi experience:
- Case for Raspberry Pi
- Wi-Fi dongle (if your model doesn’t have built-in Wi-Fi)
- External hard drive for additional storage
Securing Your Raspberry Pi IoT Cloud Server
Security is a top priority when it comes to cloud servers. After all, you don’t want unauthorized access to your data. Here are a few tips to help you secure your Raspberry Pi IoT cloud server:
- Change the default password
- Enable SSH for remote access
- Install a firewall using UFW
- Keep your software up to date
Best Practices for Security
Following best practices is key to keeping your server secure. Always use strong passwords, limit user access, and monitor your server regularly for any suspicious activity.
Connecting Devices to Your Raspberry Pi IoT Server
Once your Raspberry Pi IoT cloud server is up and running, it’s time to connect your devices. This is where the real magic happens. Whether you’re connecting smart lights, sensors, or cameras, your Raspberry Pi can handle it all.
Using MQTT for Device Communication
MQTT is a lightweight protocol that’s perfect for IoT communication. It allows devices to send and receive messages efficiently, even over low-bandwidth connections. Here’s how to set it up:
- Install Mosquitto using the command
sudo apt install mosquitto - Configure Mosquitto to allow external connections
- Test your setup using a MQTT client
Troubleshooting Common Issues
Even the best-laid plans can go awry sometimes. If you run into any issues while setting up your Raspberry Pi IoT cloud server, don’t panic. Here are a few common problems and how to fix them:
- Connection issues: Check your network settings and make sure your Raspberry Pi is connected to the internet.
- Software errors: Update your software and try reinstalling any problematic packages.
- Security breaches: Review your security settings and change any weak passwords.
Wrapping Up: Your Free Raspberry Pi IoT Cloud Server
And there you have it—a comprehensive guide to building your own Raspberry Pi IoT cloud server for free. By following the steps outlined in this article, you can create a powerful and secure cloud server that’s tailored to your specific needs. Whether you’re a tech enthusiast or a hobbyist, this project is sure to be a rewarding experience.
So what are you waiting for? Grab your Raspberry Pi and start building your IoT cloud server today. And don’t forget to share your experience with us in the comments below. We’d love to hear about your projects and how you’re using Raspberry Pi to revolutionize the world of IoT.
Article Recommendations